Ask any photography or filmmaker, and they’ll tell you that shooting outdoors is quite different from shooting inside, with a unique set of lighting challenges. Our summer high school intern, Samantha, wanted to make a video that helps give less experienced filmmakers some tips for success.
Our Outdoor Cinematography video highlights the gear and techniques you can use to get it right every time!
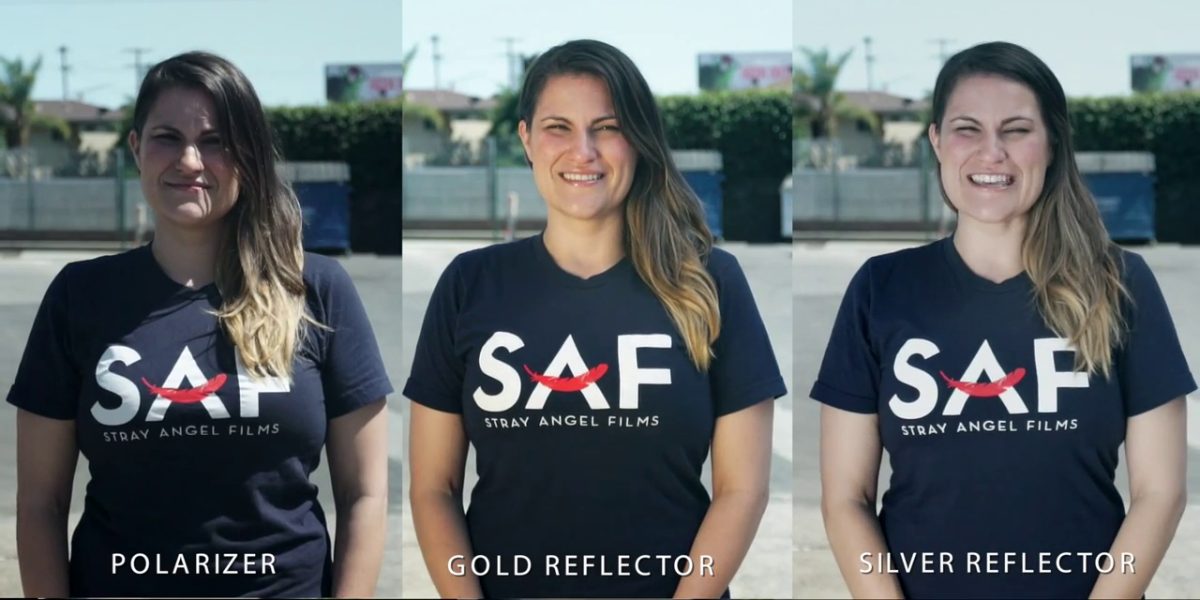
When shooting outside, you’re generally dealing with one main source of light: the sun. The sun can be so much brighter than any other light you could rig, so it’s essential to use simple control techniques available. The most common filters you might use outside are the polarizers and the ND filters. The polarizer will help you cut down glare and reflection. It can also be great for darkening the sky and making it bluer if that makes sense for the scene. If you’re losing the sky in the highlights, the polarizer will help darken it and bring everything closer to the correct exposure.
Once you have your camera set up and your filters the way you want them, it’s time to consider the other accessories to make things perfect, like bounce cards, nets, and diffusion (silks). It’s all about control to get the quality of light that you need for the scene. If your subject is too bright, you could position a net between the sun to cut down on the amount of light. If the sunlight is hitting your subject too harshly, you could put up the silk to soften the light on the subject.
Finally, if your subject is too dark, you can use a bounce card to shift some of the sunlight back onto them, and there are different kinds of bounce cards to consider. A standard white card is going to give you a more subtle bounce, while the metallic silver card will be stronger. There are also gold bounce cards that throw a softer, warmer light, too.
To summarize, make sure your outdoor shooting kit includes polarizers, ND filters, nets, silks, and bounce cards. You’ll be covered for virtually any scene under the sun!
